5 Simple DIY Halloween Costumes
Over the years, I have really enjoyed making the kids costumes. We’ve purchased a few – buzz light year, spiderman and superman but I’ve had fun making the others. The following are my favorites from the last 5 years. I sewed a few little things but they could all be made without sewing. Each one cost about $15 or less, most less! You can buy cute costumes at reasonable prices so these ideas are for those who just enjoy the creative process. Happy Halloween costume making/hunting!
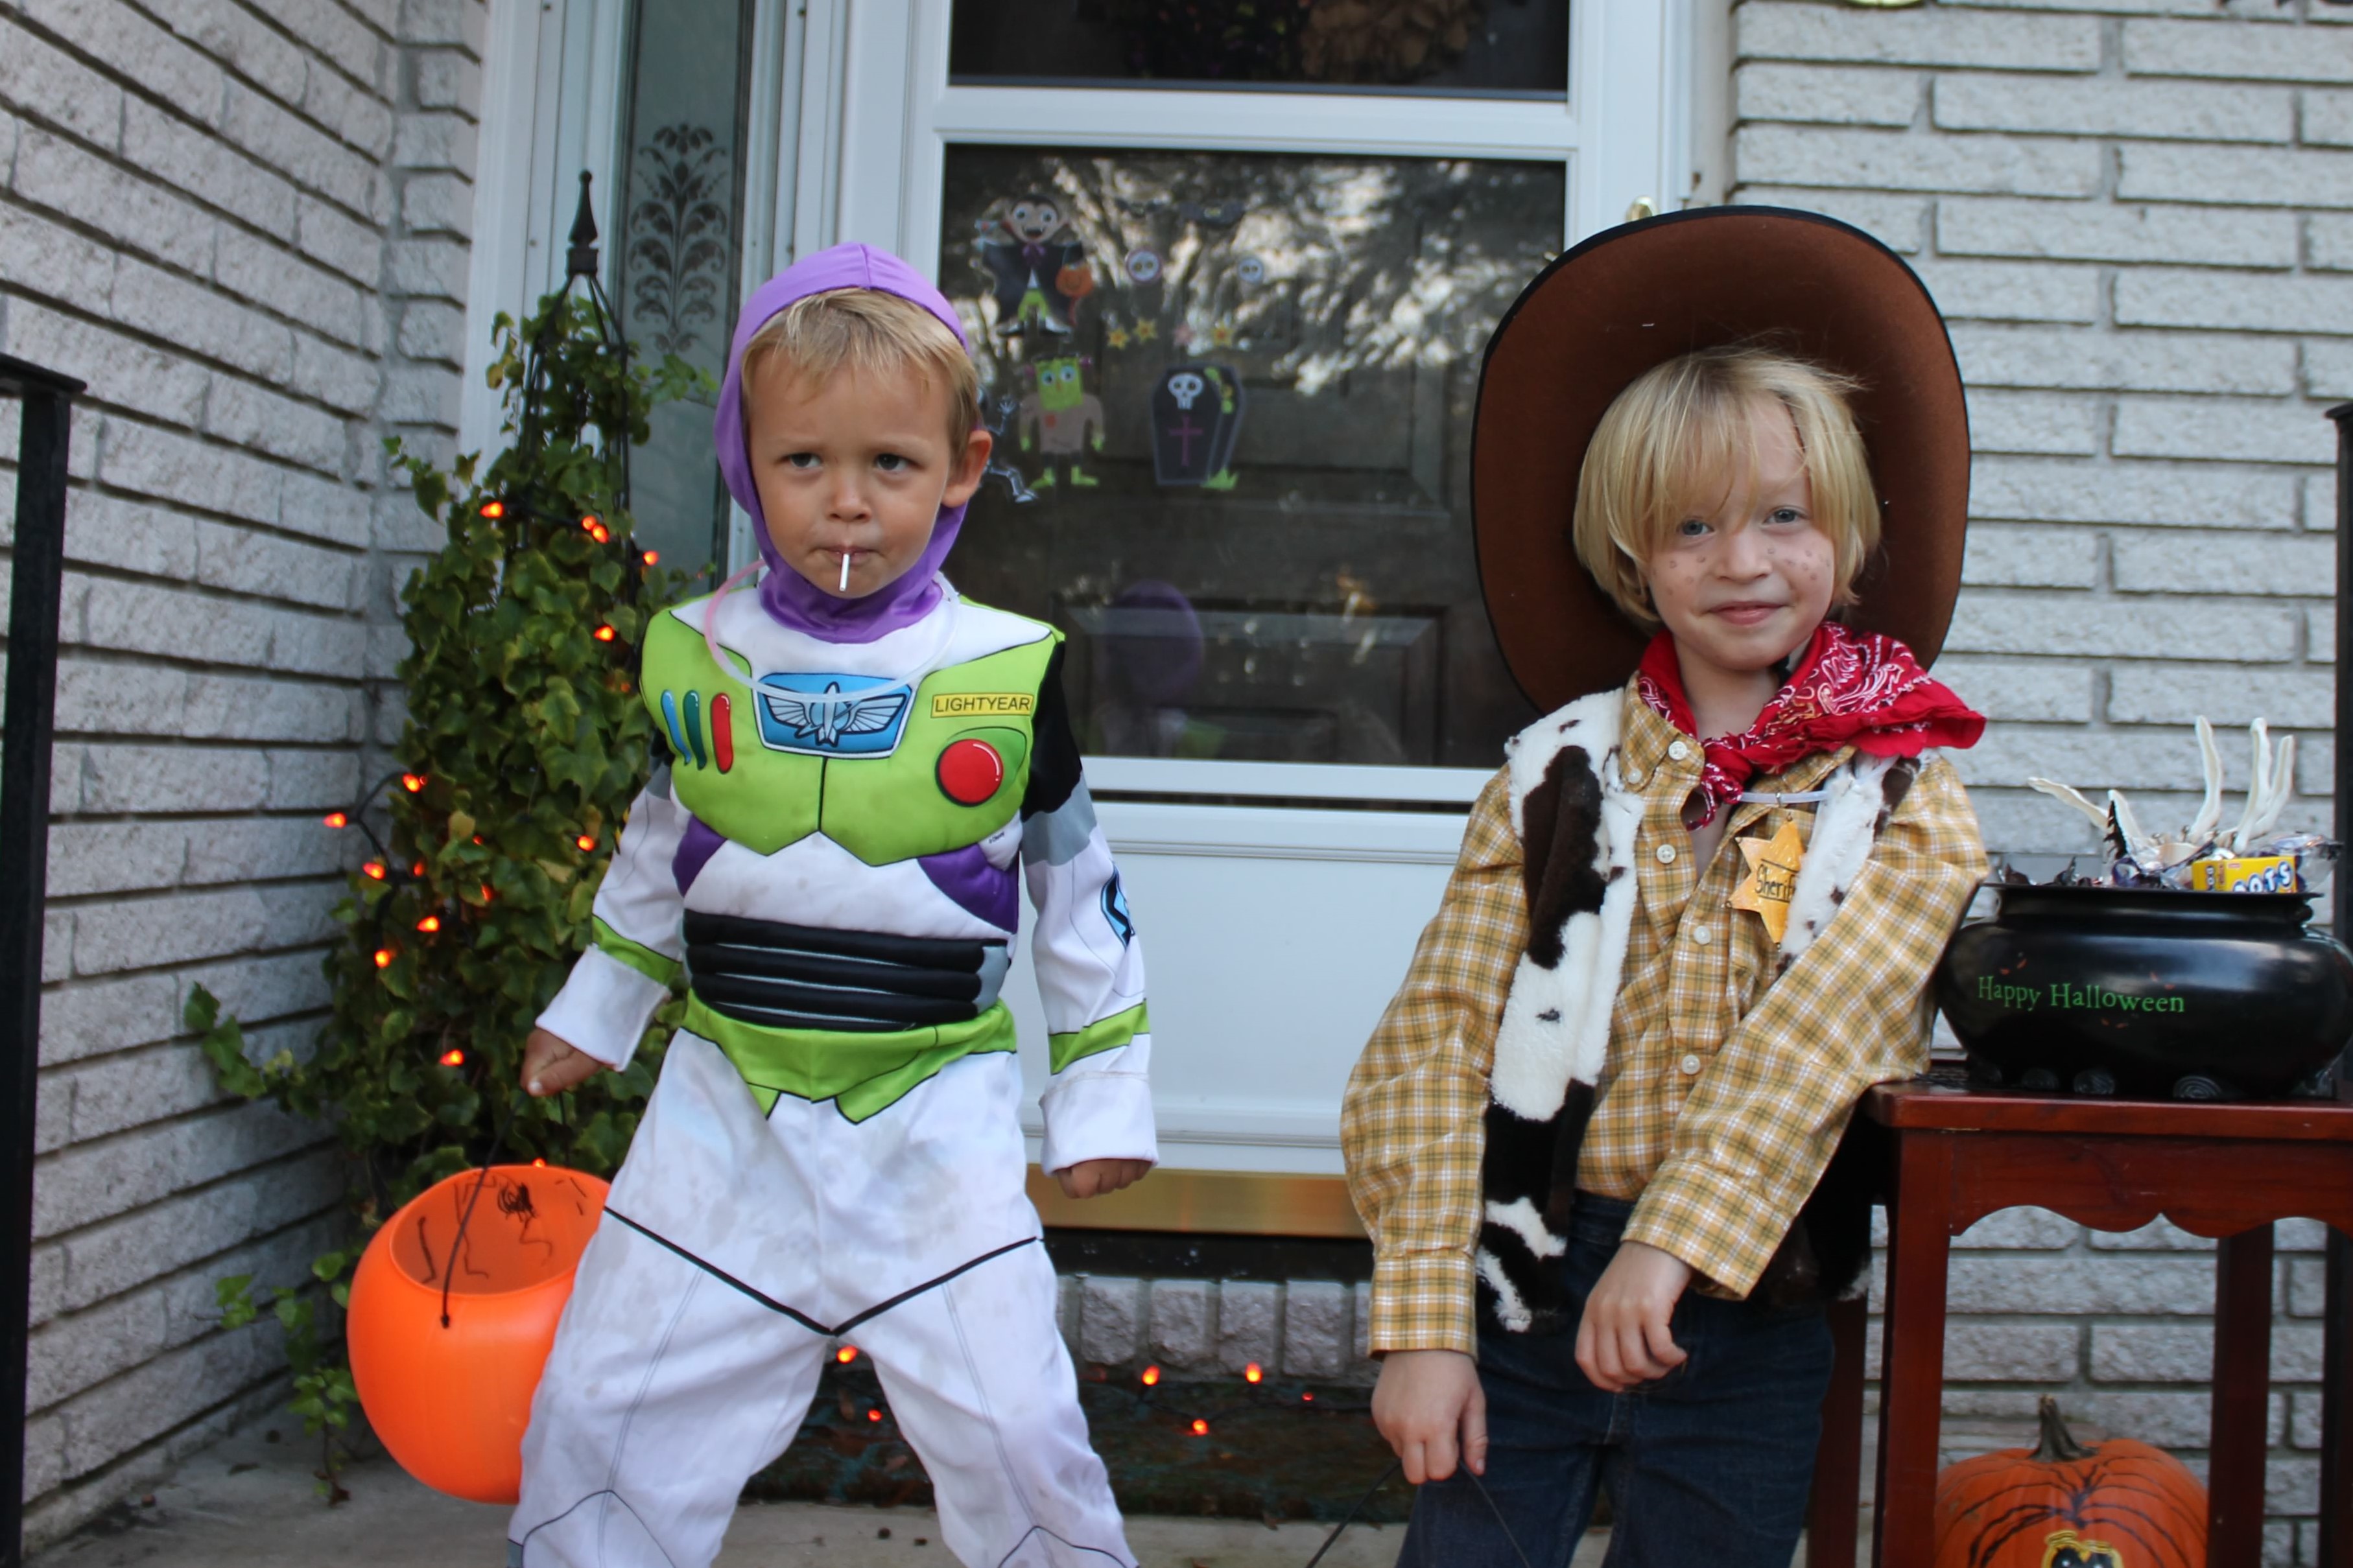
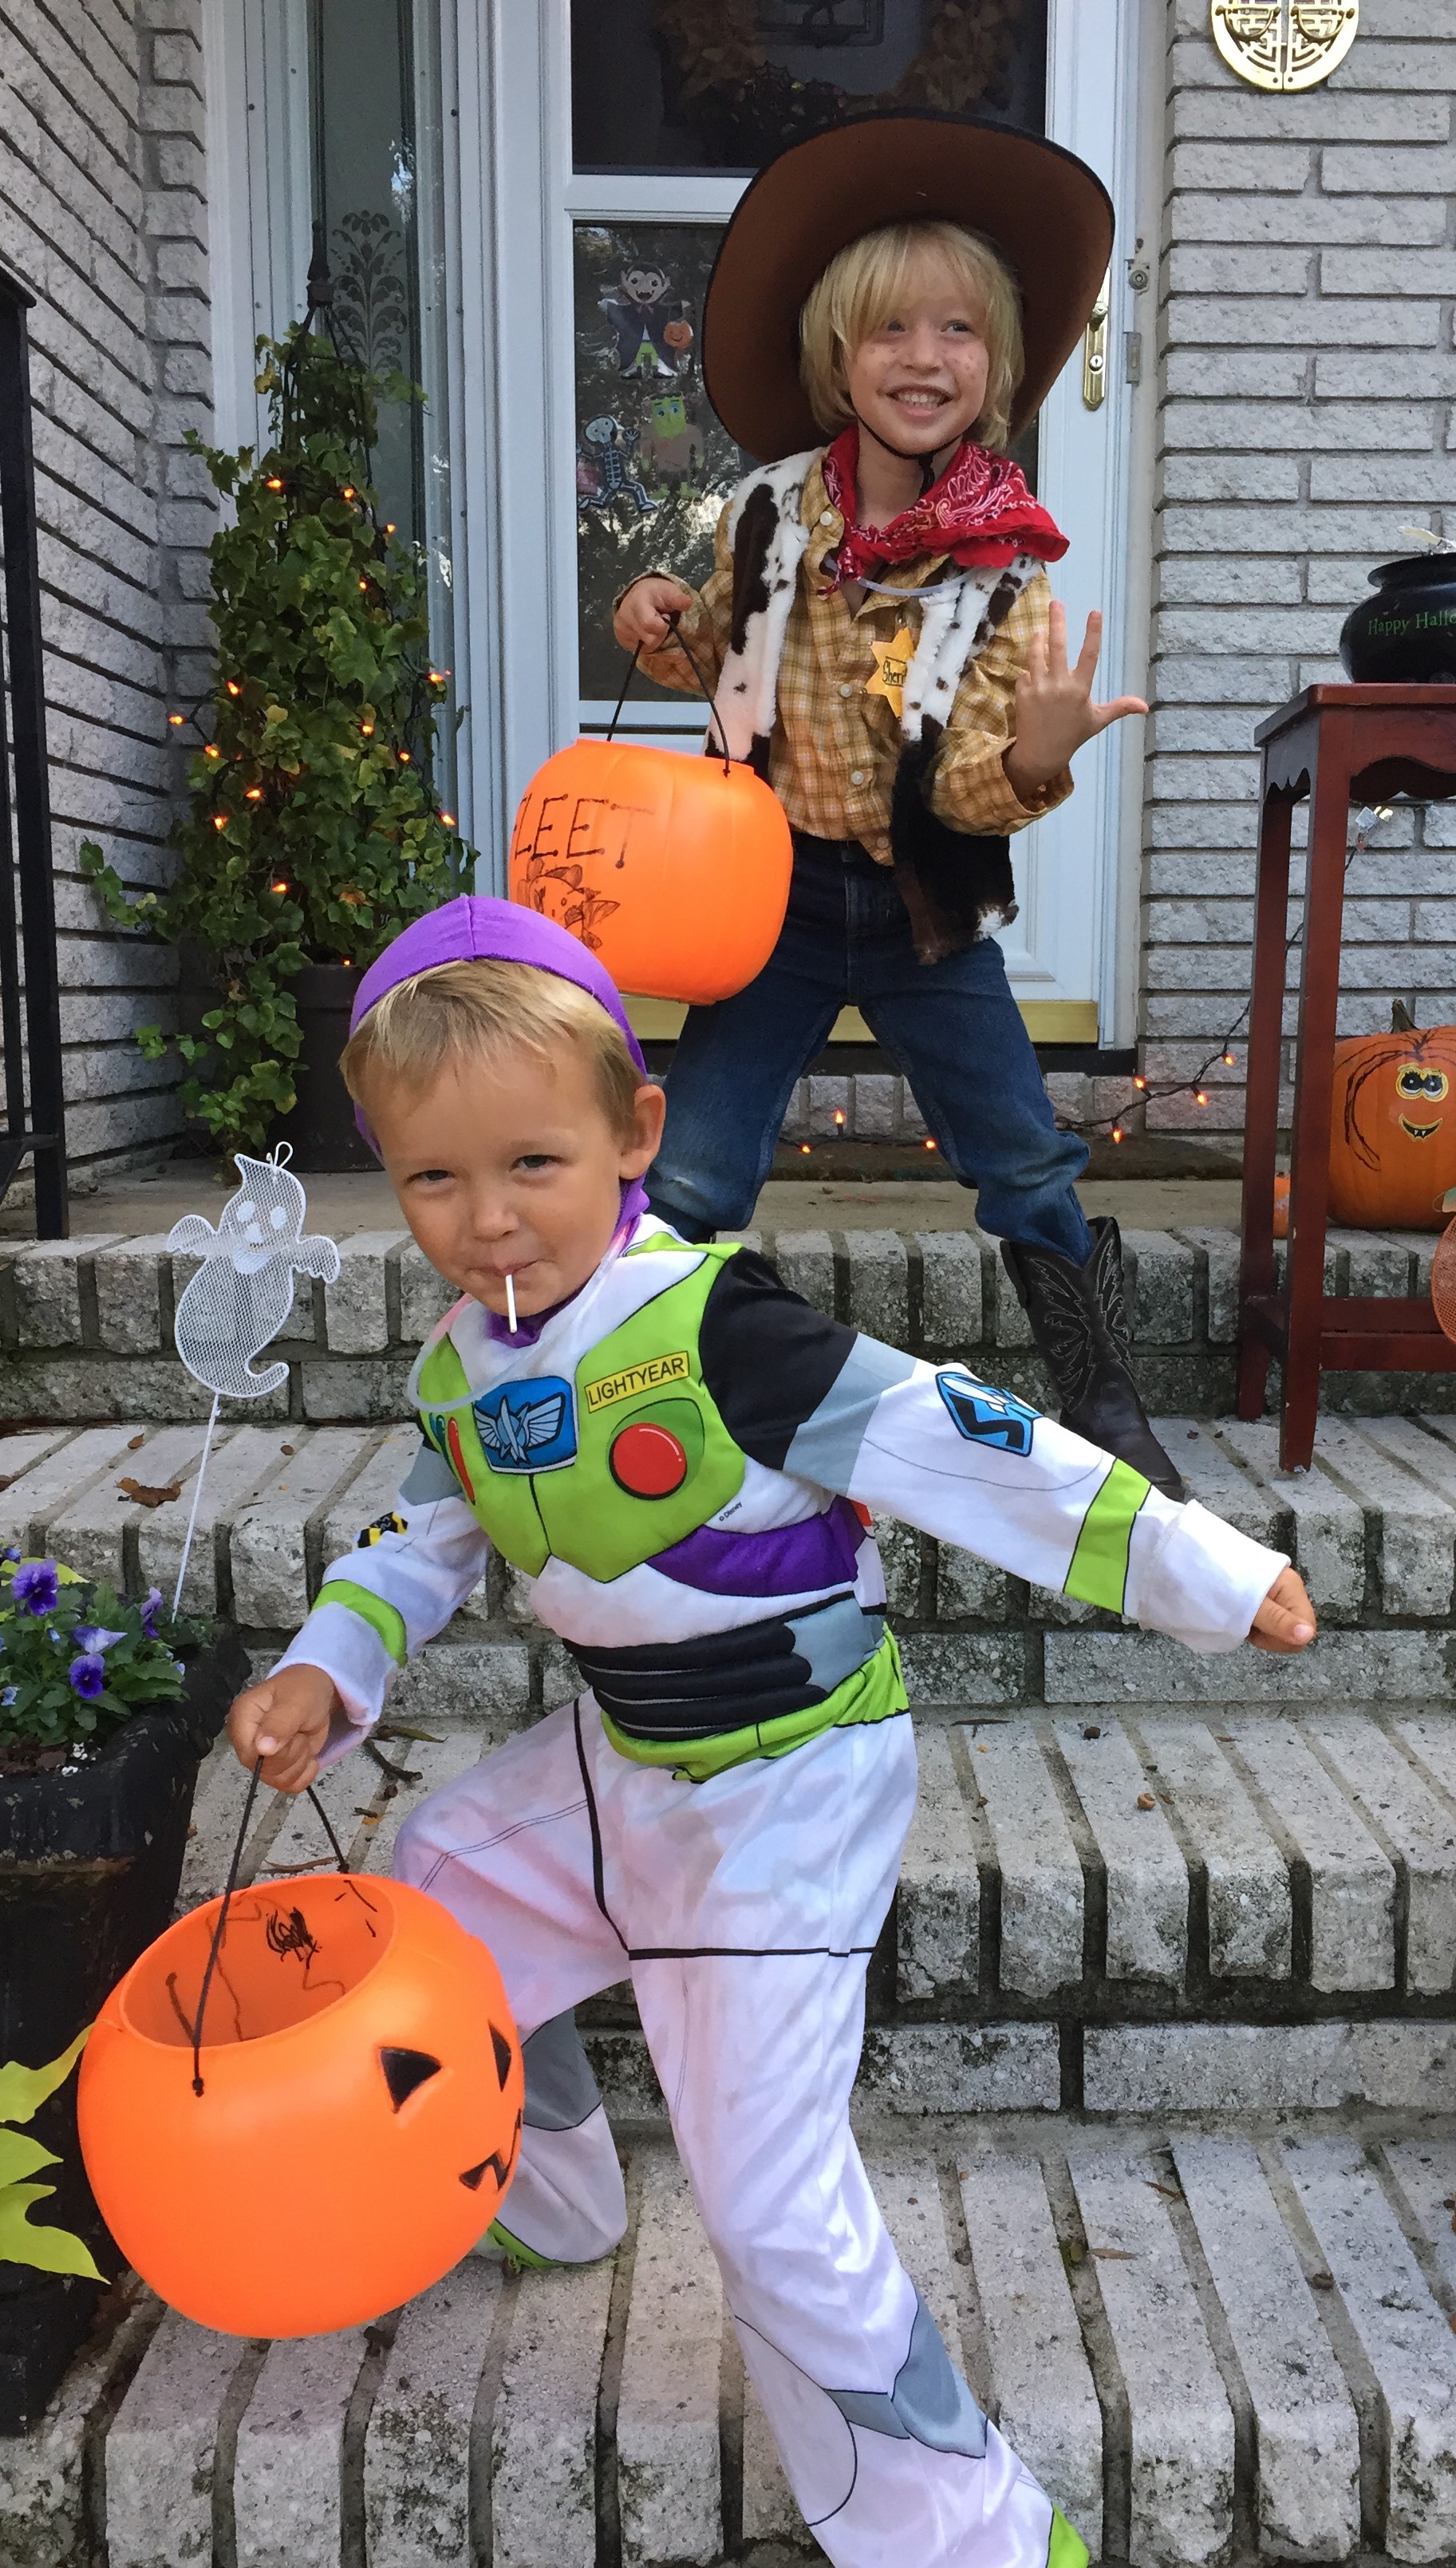
SHERIFF WOODY from Toy Story
What you need
- Jeans
- Plaid Shirt. Woody wears a yellow and red shirt. I found this one (it’s yellow and green) at the second hand shop for $3
- Cowboy hat. I found this one at Walmart for $8
- Cowboy boots – we borrowed from a friend
- Red bandana
- Cow print vest – my MIL made this one using a sewing machine but since it only needs to get one or two wears you could use fabric glue if sewing isn’t your thing. She found the fabric at Walmart.
- Gold paper or gold paint to make a sheriff badge and a safety pin to attach it.
- We painted freckles on too!
VOILA! Just put all that on and you are good to go!
ELF COSTUME
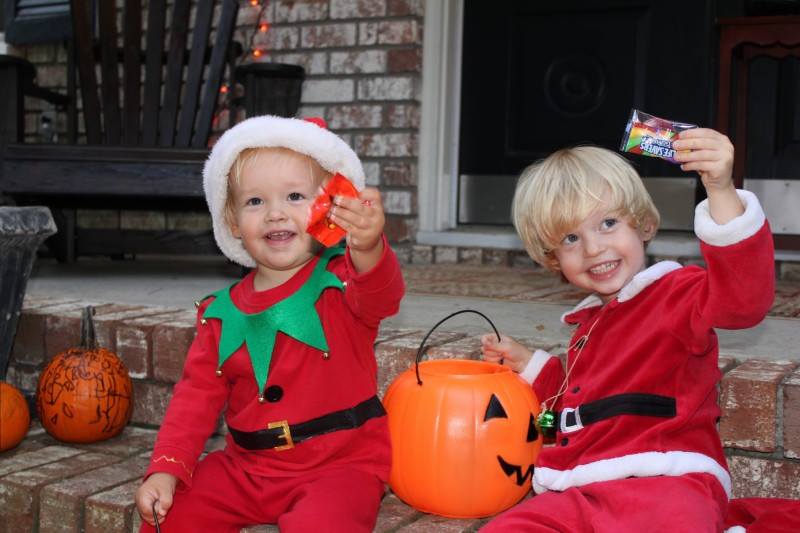
This was one of my favorites because Fleet (3.5yo) was really into Santa this year. We couldn’t get him to take this costume off. I asked him what he wanted to be for Halloween and he said, “Ho Ho.” I thought, “Well, that’s strange but why not?!” We already had a Santa outfit for Fleet so I decided that Luke (2yo) would be an elf.
Here’s what you need
- Red shirt and pants. I found these at Walmart for $3-$5 each.
- Black and gold fabric paint to paint on the belt and buttons. I got this at Michaels for about $2 each.
- Green Felt for the collar and shoe toppers.
- Jingle bells
- Santa hat.
To complete this look, I painted the belt and buttons on the shirt. I cut the felt out in the circular pattern. I made the hole large so that it would easily slip over his head but you could make it adjustable by adding velcro so it wouldn’t have to be so loose. Then I cut the triangle pattern and sewed jingle bells onto each point. Last I cut triangular pieces of felt and formed them to stick up on his shoes. I sewed a jingle bell onto the point and then glued them (very lightly so they could be easily removed) onto his shoes.

This is what I was going for with the shoes, something similar to this anyway.
You can kind of see the shoes here. I think the little kids in his class had pulled the jingle bells off by this time. They had a little parade at school.

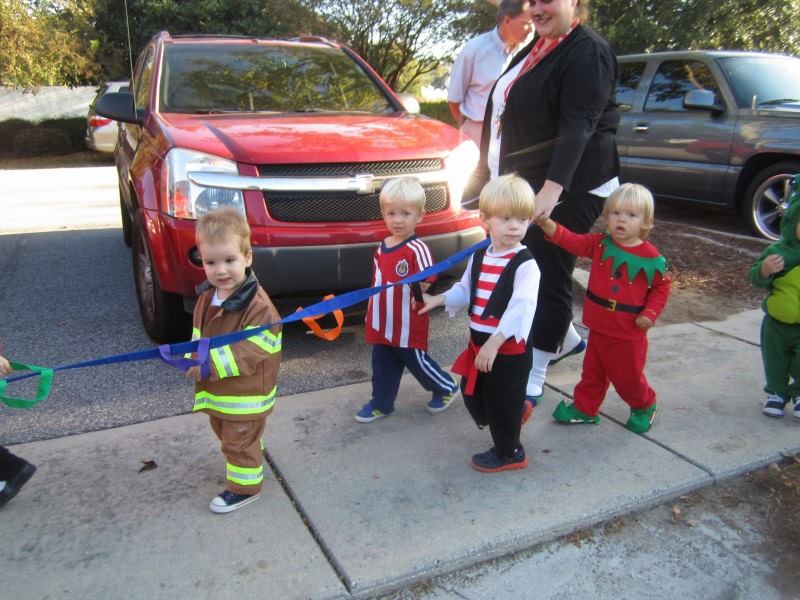
A PIRATE AND A PARROT
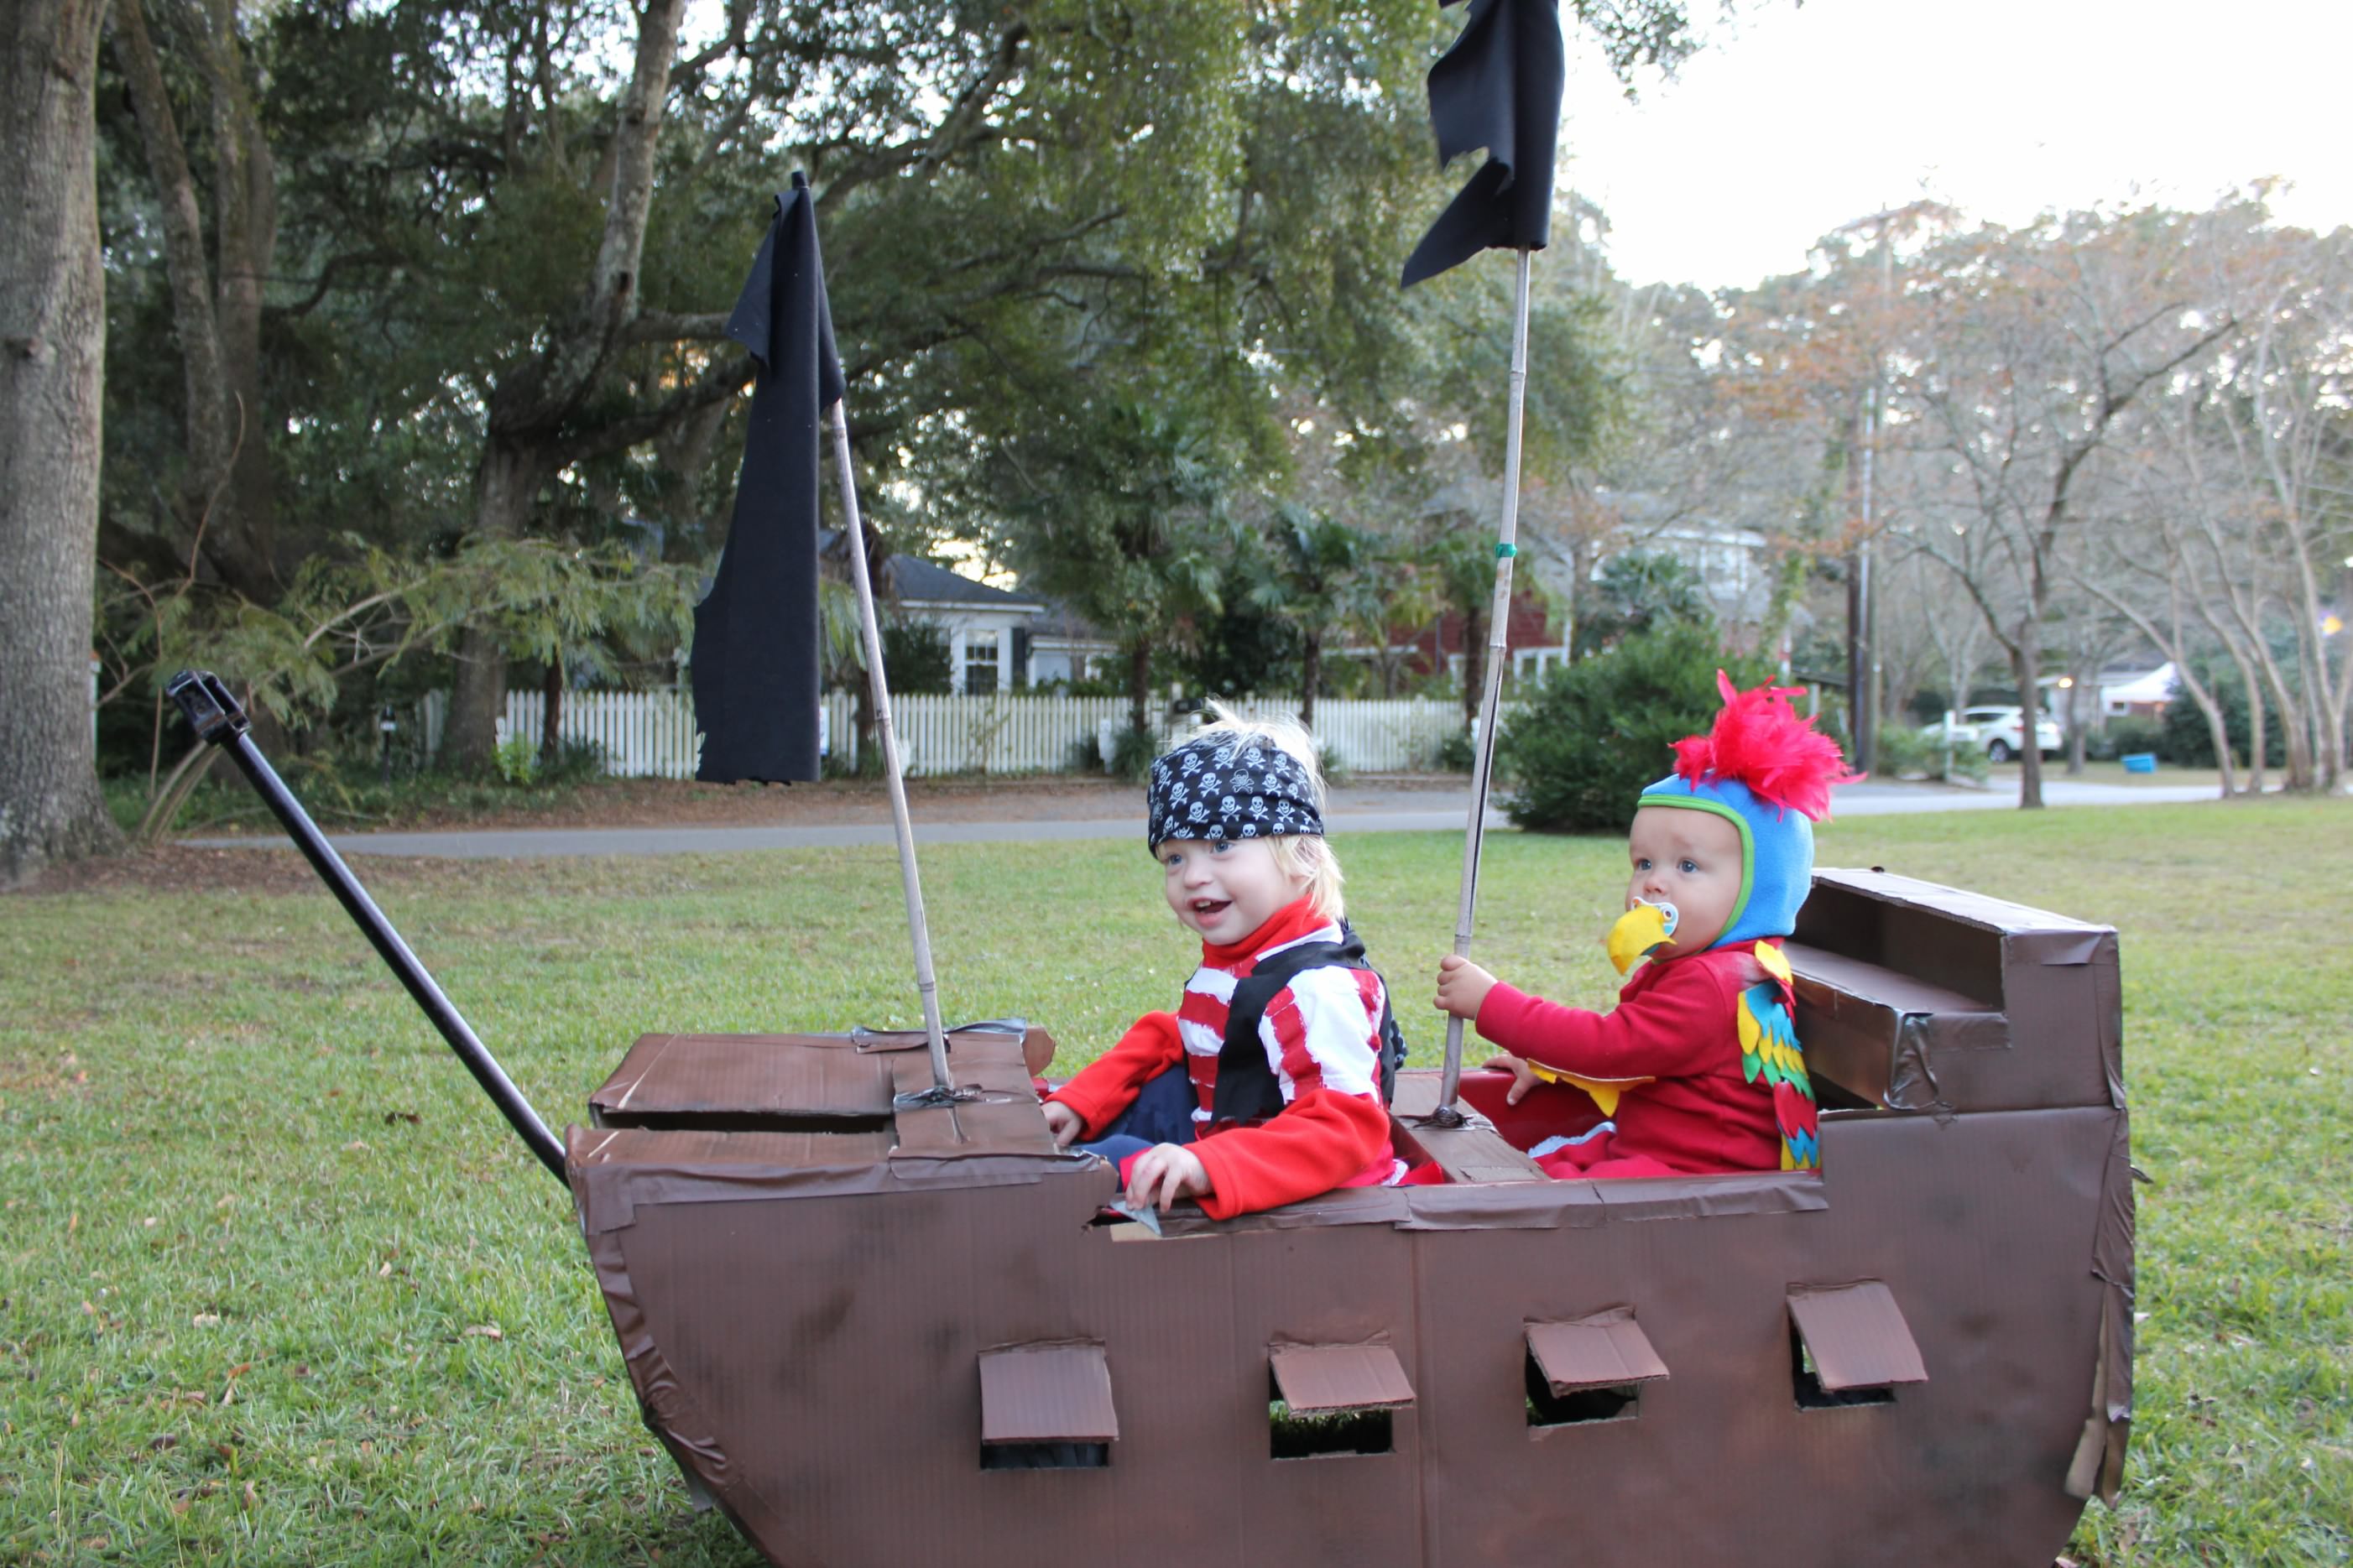
This was our first really fun Halloween with the boys. Fleet (2.5 yo) was totally into it and Luke (1yo) was a trooper. Big Luke built this really cool pirate ship out of cardboard around the wagon. They ask him to repeat it every year!
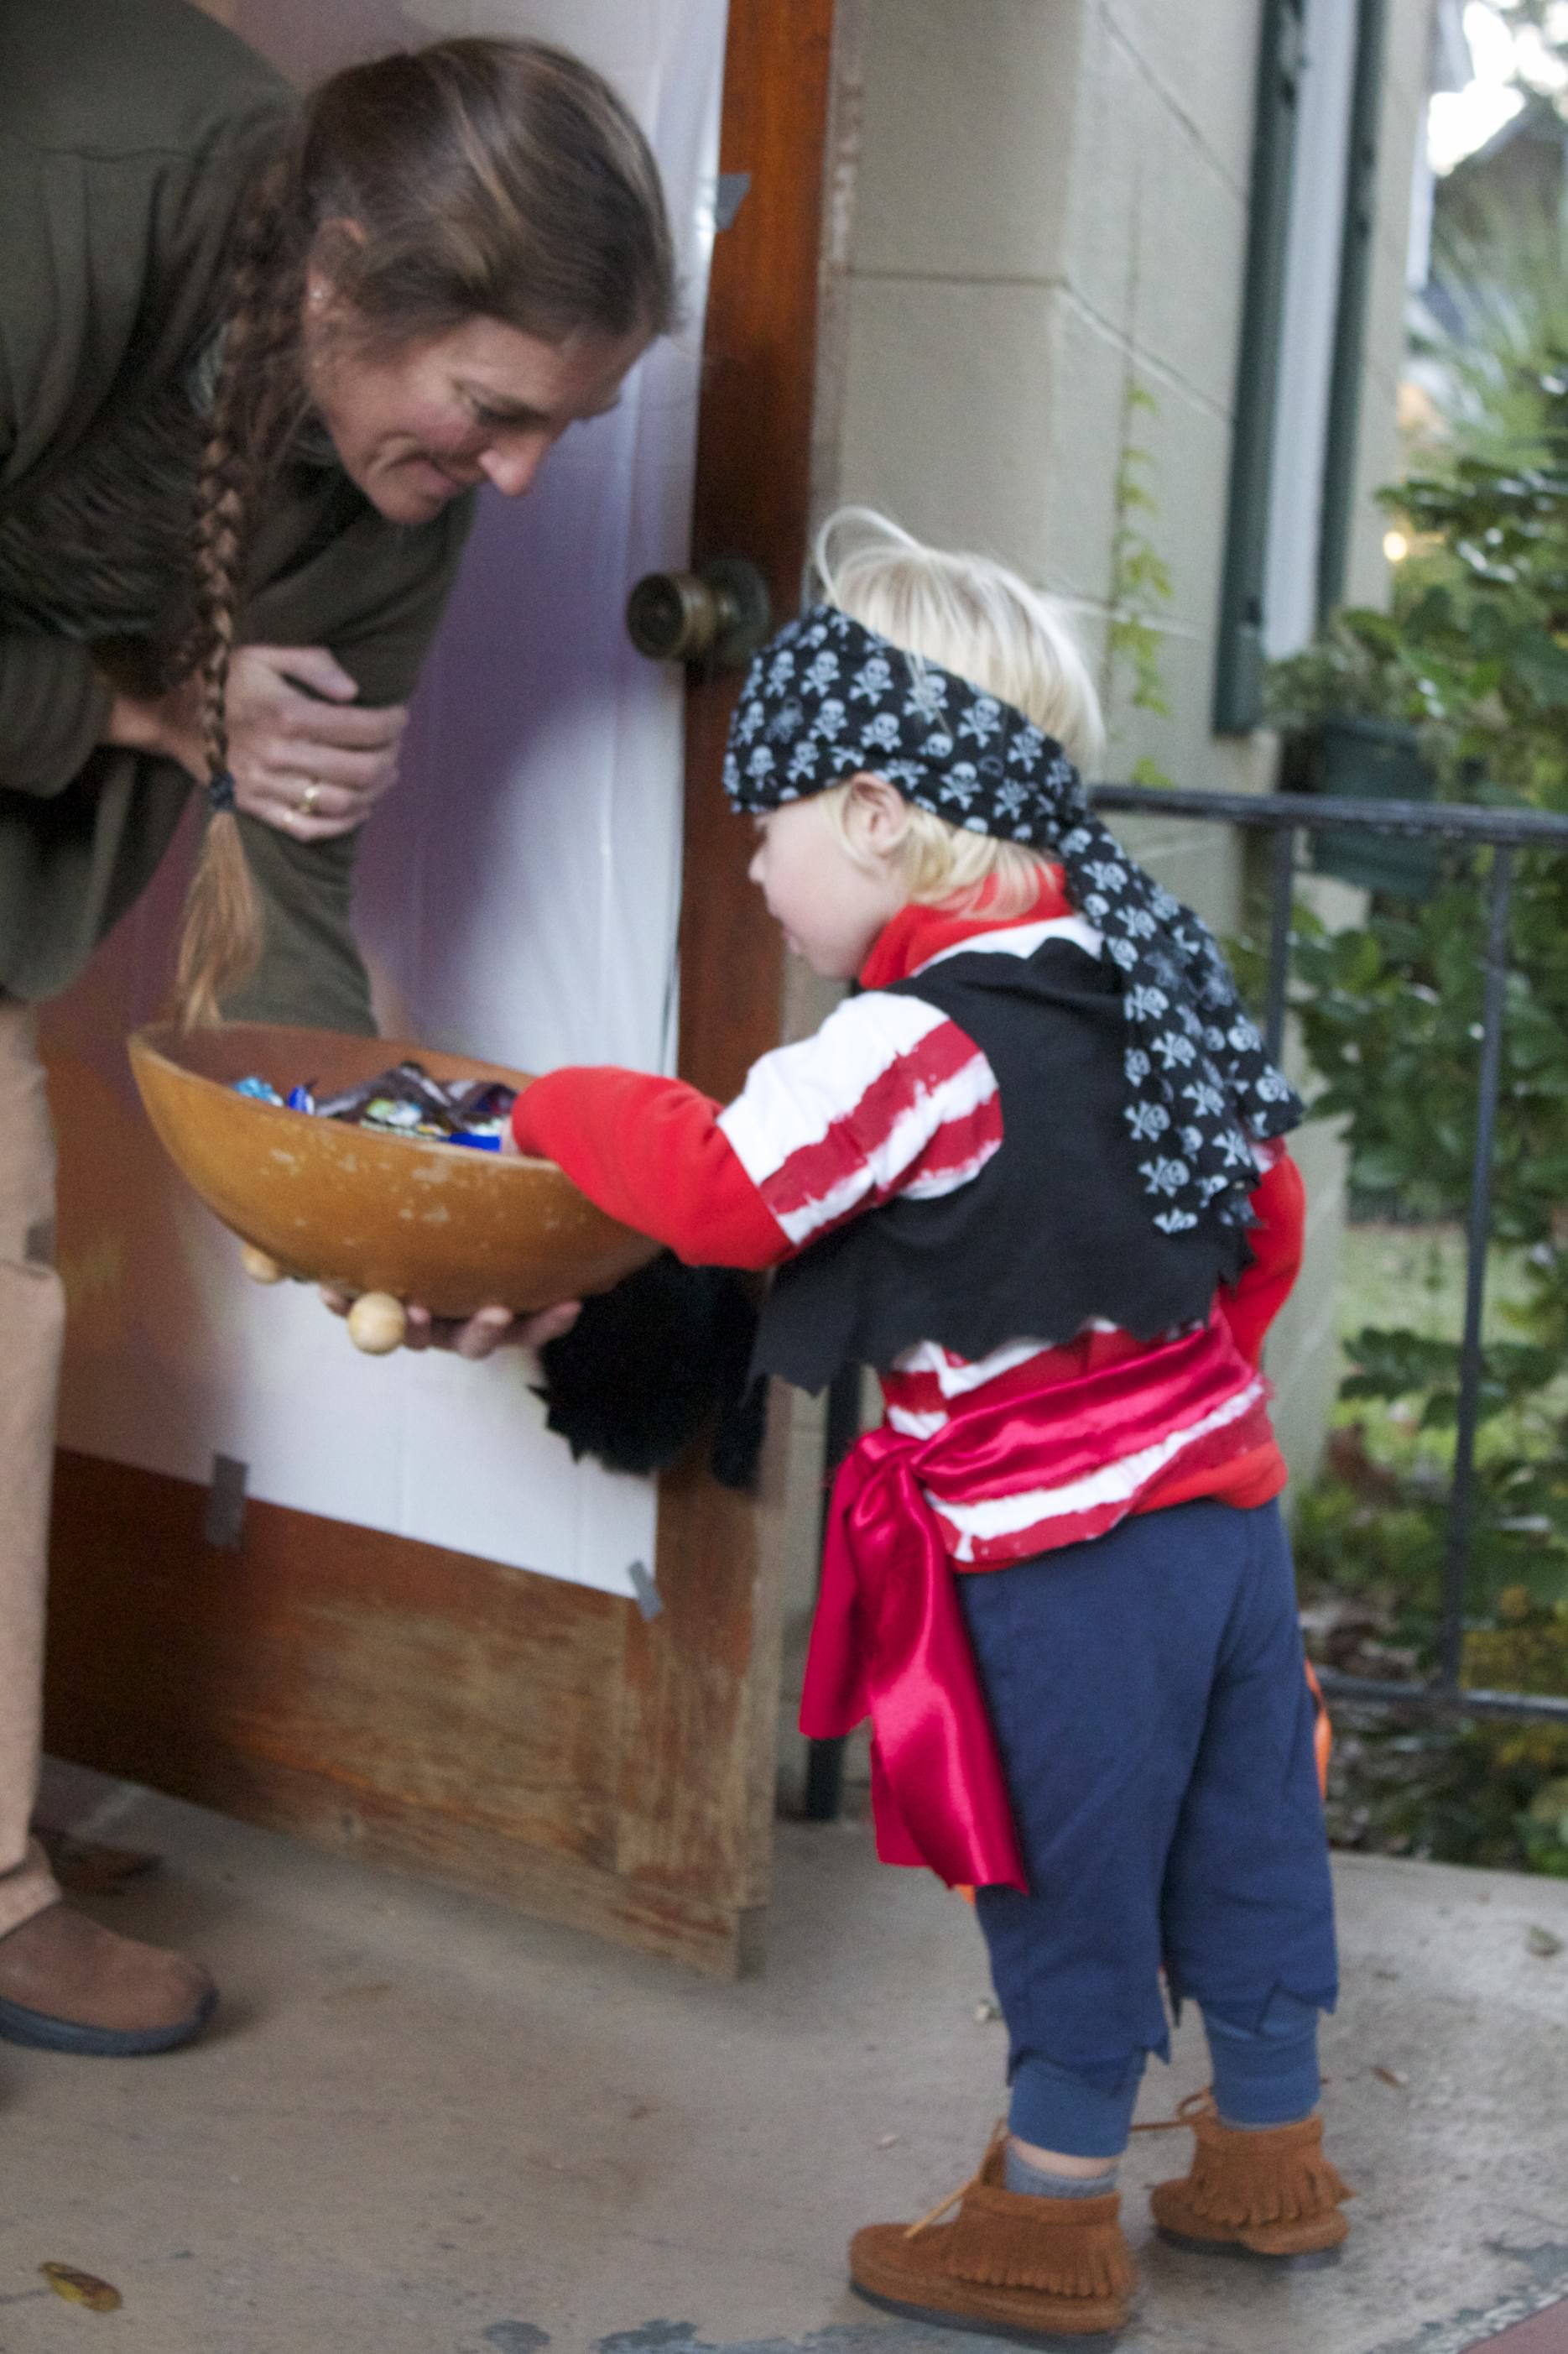
For the Pirate-
- Navy blue pants cut into a zigzag at the bottom of the legs.
- Stripe shirt. I bought a white one and painted messy stripes on it but you could use any striped shirt.
- Black fabric for a vest. I found this at Walmart. I didn’t do any sewing. I just wrapped it around him and cut holes for the arms. I figured that pirates are supposed to look messy! I cut zigzags around the bottom.
- I also bought red satin fabric for a sash and jolly roger fabric for the bandana. Again, no sewing involved, the messier the better.
- We happened to have moccasins for shoes.
It was chilly this halloween so we ended up putting a long sleeve shirt and long john bottoms under his outfit. Look at what a sweet little guy . . .
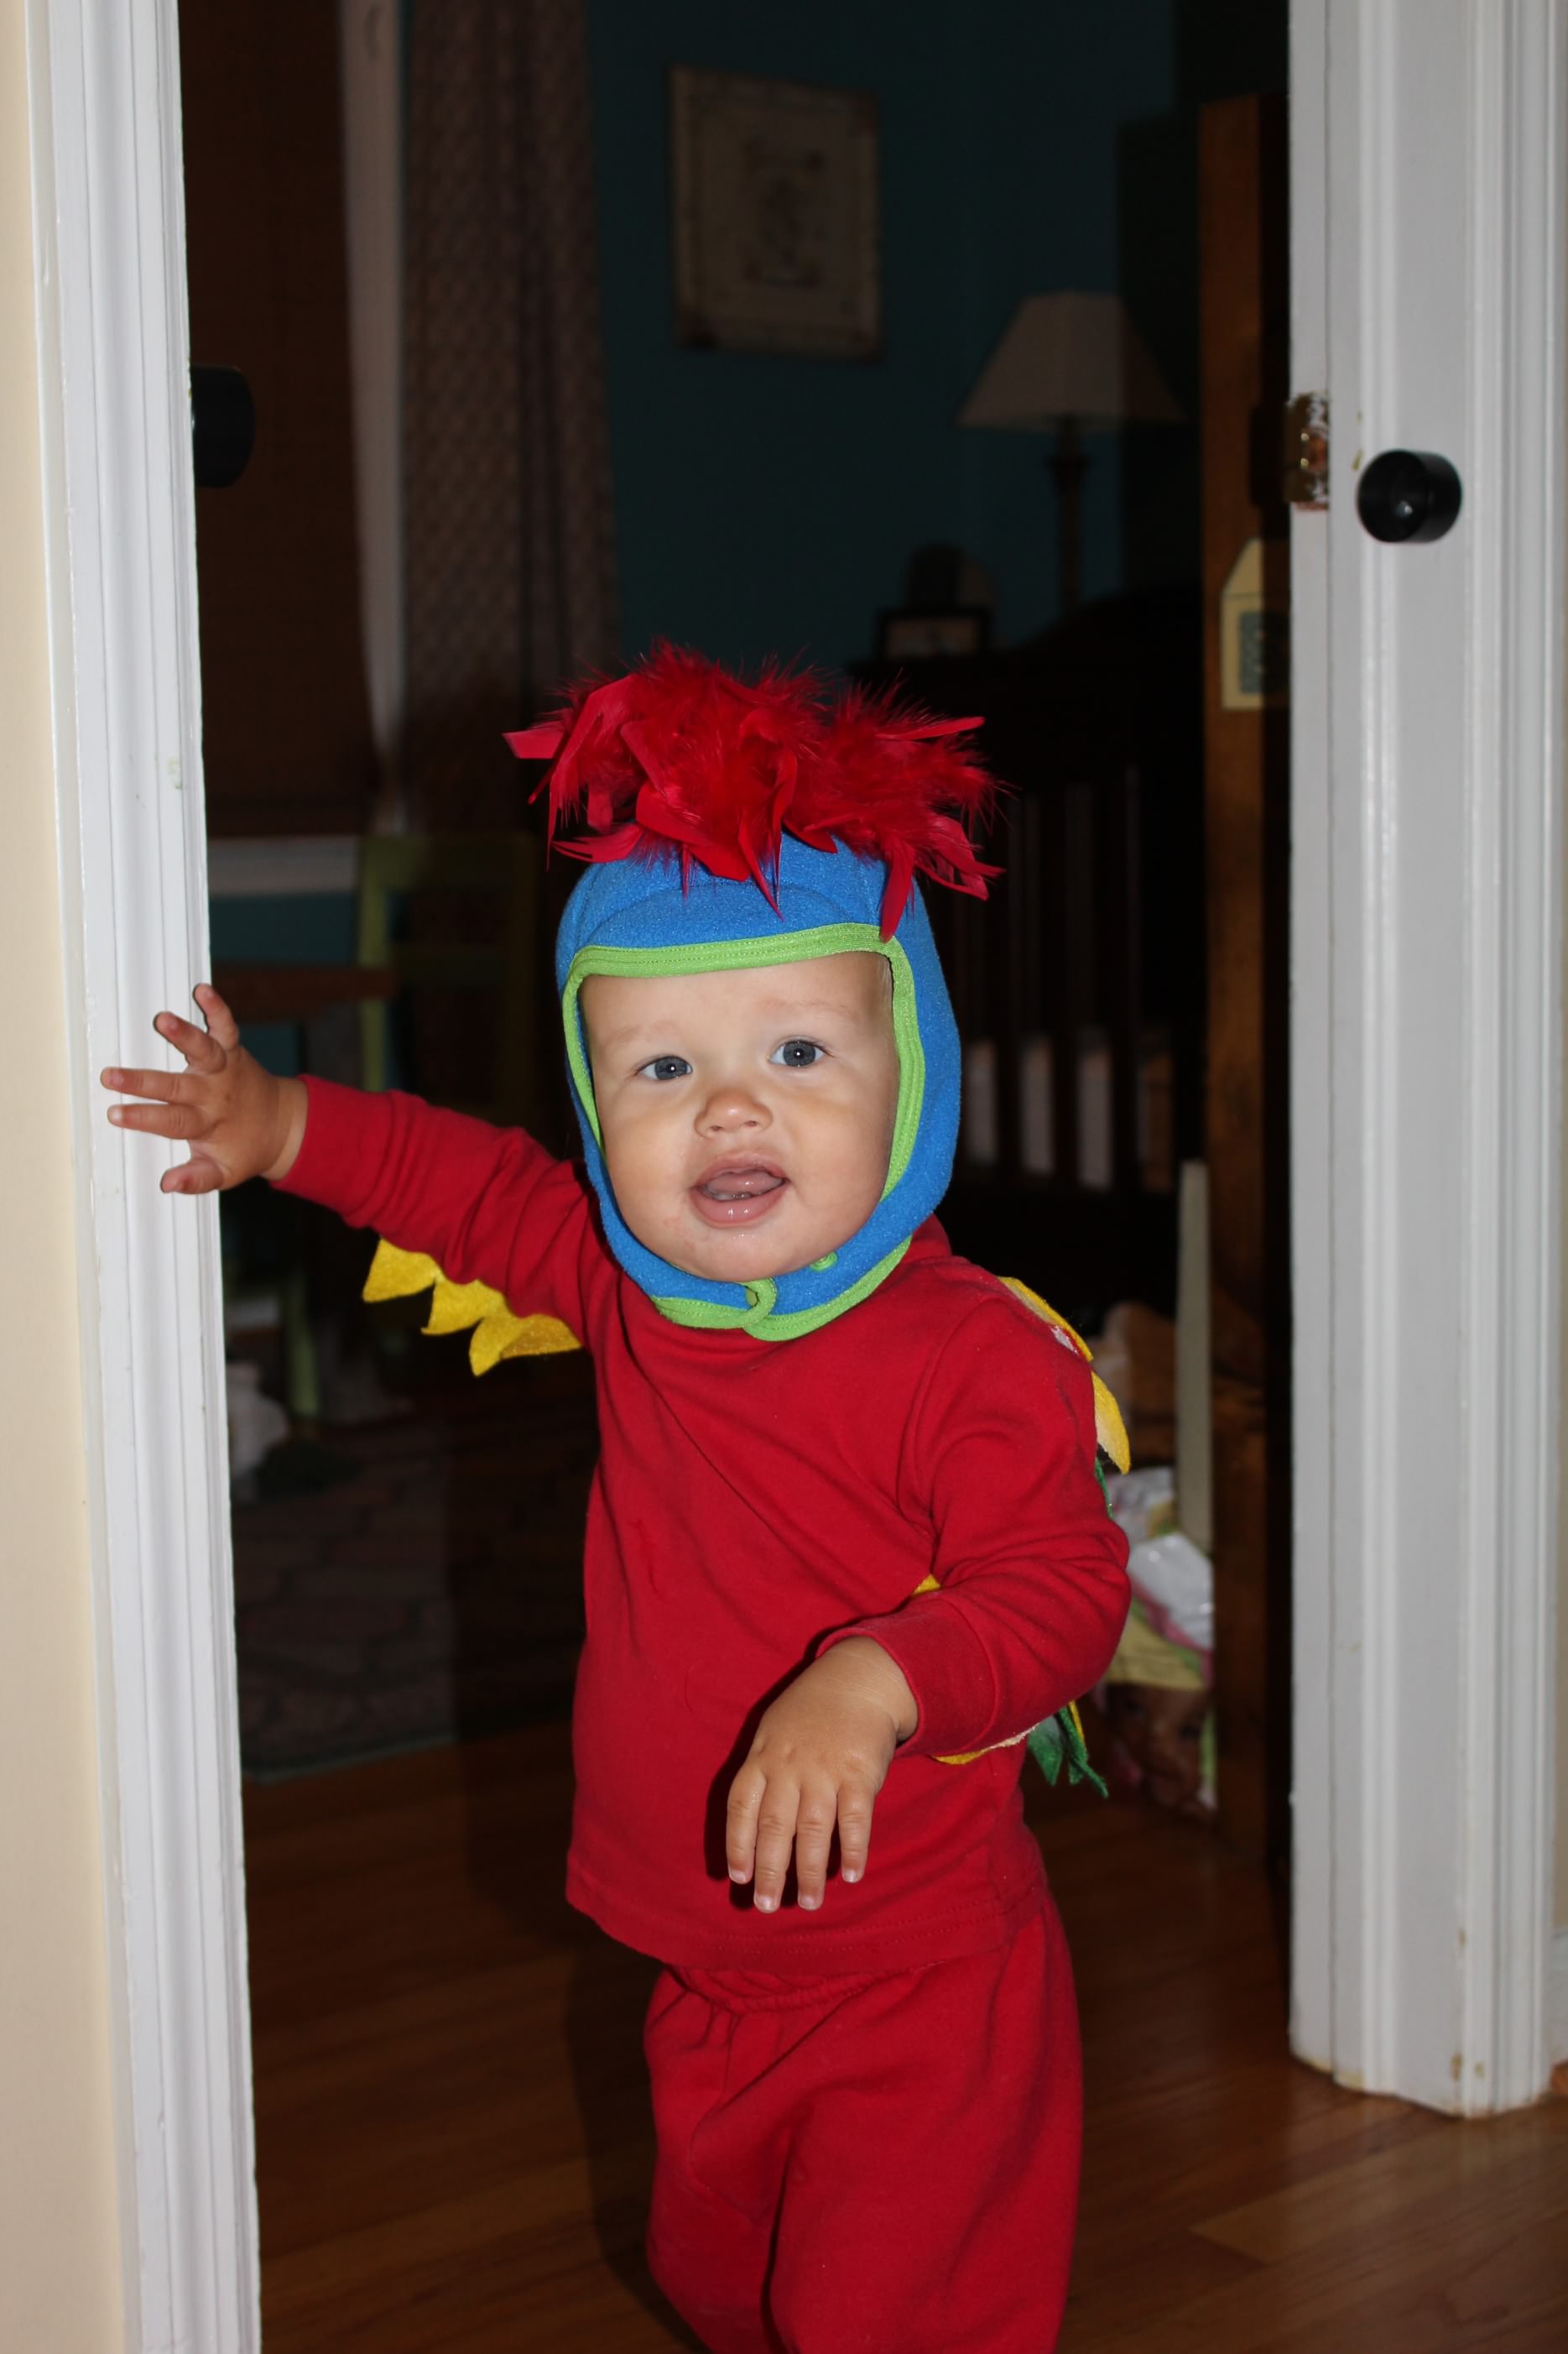
For the Parrot-
- About 4 pieces each of red, yellow, green and blue felt.
- Red shirt and pants. Again, mine are from Walmart. Their price on basics can’t be beat. And these are one or two wear items so I am always looking for the best price.
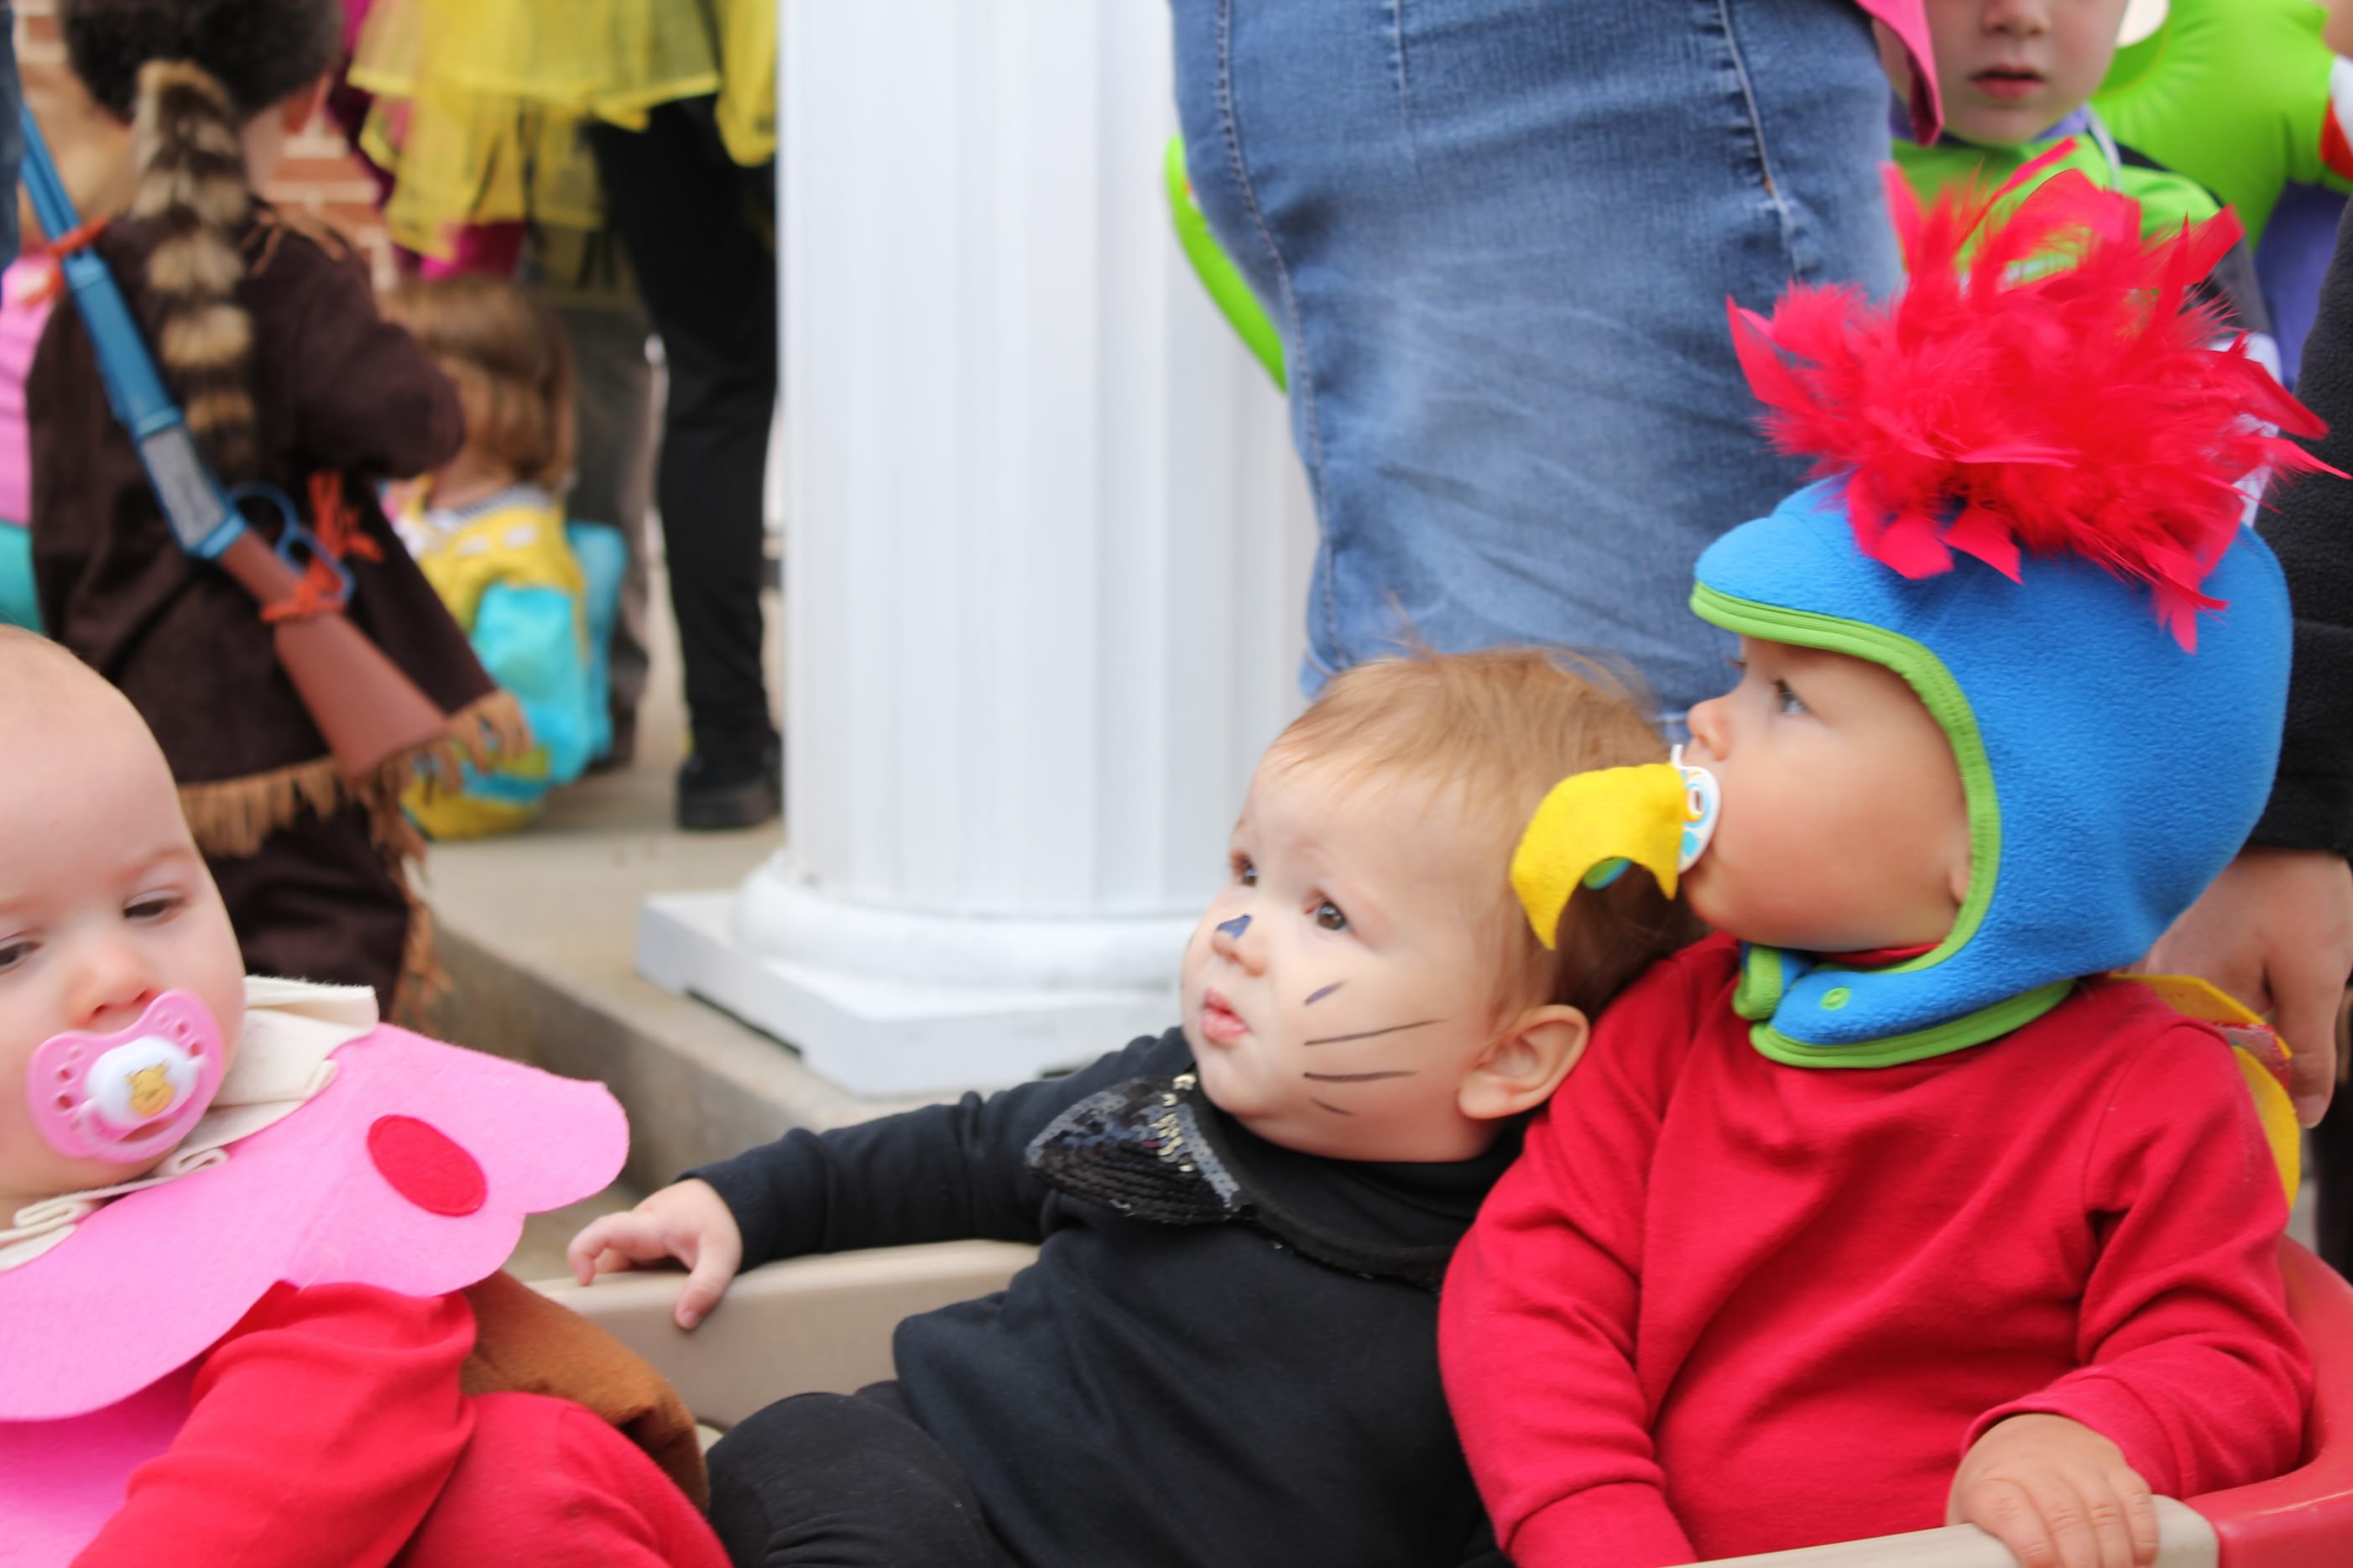
- Extras just to make it fun- We glued yellow felt onto his pacifier to make it look like a beak. He loved his pacie so this worked really well for us. I knew that I wouldn’t be able to get him to wear a beak mask or anything similar. I pinned a red feathery poof ball (from Michaels) onto the top of a colorful winter hat.
- Fabric glue
Take the large pieces of felt and cut them into zig-zag rows. Glue them in altermating colors, slightly over-lapping onto the back of the shirt. See image below for more clear idea of what I mean.(I have seen several posts where people cut individual “feathers” and then glued or sewed each one on, I didn’t do that, I cut them in strips.) Cut extra pieces and glue them under the arms. Add any other fun bird-like accessories and you are good to go! I wish I had a really good picture of what he looked like from the back, as that was the main part of his costume. If you want to make this and need more info, contact me at laurenskijones@gmail.com. Also, I have a friend who did this same idea for her kids one year. She is more of a perfectionist and very good with a sewing machine. Her costumes turned out SO CUTE and way more polished.
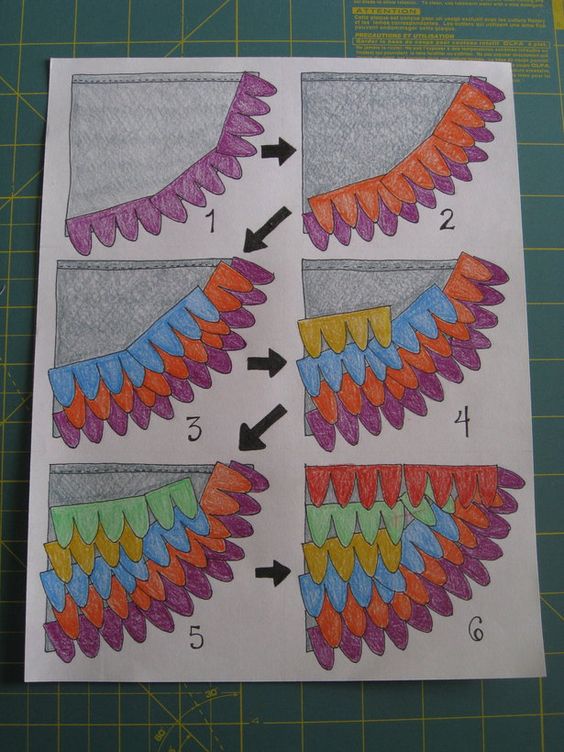
Click for link to original image.
RACE TRACK
Fleet was 1.5 this year and it was our first time trick-or-treating. Luke was about 2 months old so we didn’t even dress him up. He slept in a sling the whole time we trick or treated. We went over to Riverland Woods in West Ashley to trick-or-treat. They block of the road and all the homeowners tailgate by the street to pass out candy. It’s gotten increasing popular over the years and we don’t go over there anymore . . . too bonkers.
Here’s what you need:
- Red shirt and pants, again mine are from Walmart
- Black, yellow and white fabric paint or puff paint for painting the track.
- Hot wheels, we used 4
- Velcro for attaching the hot wheels
- wooden dowel
- Race fabric
- fabric glue
- We had this little race car Buff that worked perfectly but you could use a black/white check fabric for a bandana.
Steps:
- Use a marker or pen to draw your track. Ours went across the front and back. Go back over it with your paints. Remember that this will take a couple of days because the front has to be dry before you can flip it over and do the back. We also painted a start line (yellow and black check area)
- Attach the velcro pieces to the shirt and the hot wheels.
- Cut the dowel to the appropriate size. Cut the fabric into a square and glue it onto the dowel.

I think that a few of these could be adapted to be a little more girlie. My friend who did the pirate and parrot idea- her daughter was the parrot. She used the same basic idea but made a dress out of felt and sewed the “feathers” on.
Unfortunately, I haven’t finalized this years costumes yet and it’s going to be here before I know it. They are all wanting to be Harry Potter characters, including the baby as Dumbledore, and I’m not quite sure how to pull it all off without spending too much money!